Why Sample Collection Matters More Than Most Homeowners Expect
A water test is only as good as the sample.
Two things can go wrong even when the lab does everything right:
- The sample gets contaminated during collection, especially for bacteria testing.
- The sample changes during storage or transport, especially when holding times are missed or the sample gets warm.
If you have ever heard someone say, "The test said bacteria, but then it was fine," a large share of those situations come down to collection issues, timing, or where the sample was taken.
The goal of this guide is to help you collect a sample that is:
- valid
- repeatable
- easy to interpret
If you also want to understand which tests to order, use: Well water contaminants guide hub
Step 0: Before You Collect Anything, Decide What You Are Testing For
This guide is about how to collect a sample, but one decision comes first:
Are you collecting a bacteria sample, a chemical sample, or both?
Most homeowner testing falls into one of these groups:
- Bacteria testing (usually total coliform and E. coli)
- Chemical testing (nitrate, metals, pH, hardness, etc.)
- A combined panel that includes both
These are collected differently and sometimes at different times.
A common annual baseline mentioned by CDC and EPA includes testing at least once per year for total coliform, nitrates, TDS, and pH, and they recommend using a state-certified lab. (CDC)
Step 1: Choose a Lab and Get the Correct Bottles
Use a Certified Lab When Possible
Even if you are doing a simple routine test, a certified lab helps with:
- correct bottles and preservatives
- clear instructions
- reporting with units and reference context
- repeatability year over year
CDC and EPA both point private well owners toward state-certified labs. (CDC)
Request the Kit Before Your Collection Day
Ask the lab:
- Which bottles are required for my panel?
- Do any bottles contain preservatives?
- Do you need the sample kept cold?
- What are the holding times and delivery deadline?
- What days do you accept bacteria samples?
Many labs will tell you to avoid collecting bacteria samples late in the week if shipping could delay delivery over the weekend.
Do Not Rinse Bottles
If the bottle is sterile or preserved, rinsing can ruin it.
Your job is to keep the bottle exactly as it is until collection.
Step 2: Pick the Right Sampling Location
Most Homeowner Tests Use the Kitchen Cold-Water Tap
That is because it reflects what most households actually drink and cook with.
If You Have Treatment Equipment, Decide What You Want to Measure
You may have:
- a whole-home filter
- a softener
- an under-sink drinking water filter
- reverse osmosis at the kitchen tap
In that case, decide whether you want results for:
- Water you actually drink (often the kitchen drinking tap)
- Raw well water (a tap before treatment, if available)
Both can be useful, but they answer different questions.
Avoid These Sampling Points Unless the Lab Tells You Otherwise
- outdoor hoses (often dirty and exposed)
- swivel faucets with internal gunk
- taps with heavy aerator buildup
If you only have one option, you can still sample, but you may need extra cleaning steps.
Step 3: Plan Your Timing (Especially for Bacteria)
Timing is the biggest "hidden" factor in valid results.
Bacteria Samples Are Time-Sensitive
Many labs will reject samples that are too old or were not kept cold.
Local lab instructions often require refrigeration and note that samples older than about 24 hours may not be acceptable.
Practical takeaway:
Collect bacteria samples on a day you can deliver them quickly. If you are shipping, use the shipping method the kit specifies and avoid days where the sample could sit in transit.
Chemical Samples Can Still Have Holding Times
Some chemical tests have longer holding times than bacteria, but that doesn't mean "anytime is fine."
Follow the lab's holding time guidance for each analyte in your panel.
If you are ordering a combined panel, the bacteria timing usually drives the schedule for everything.
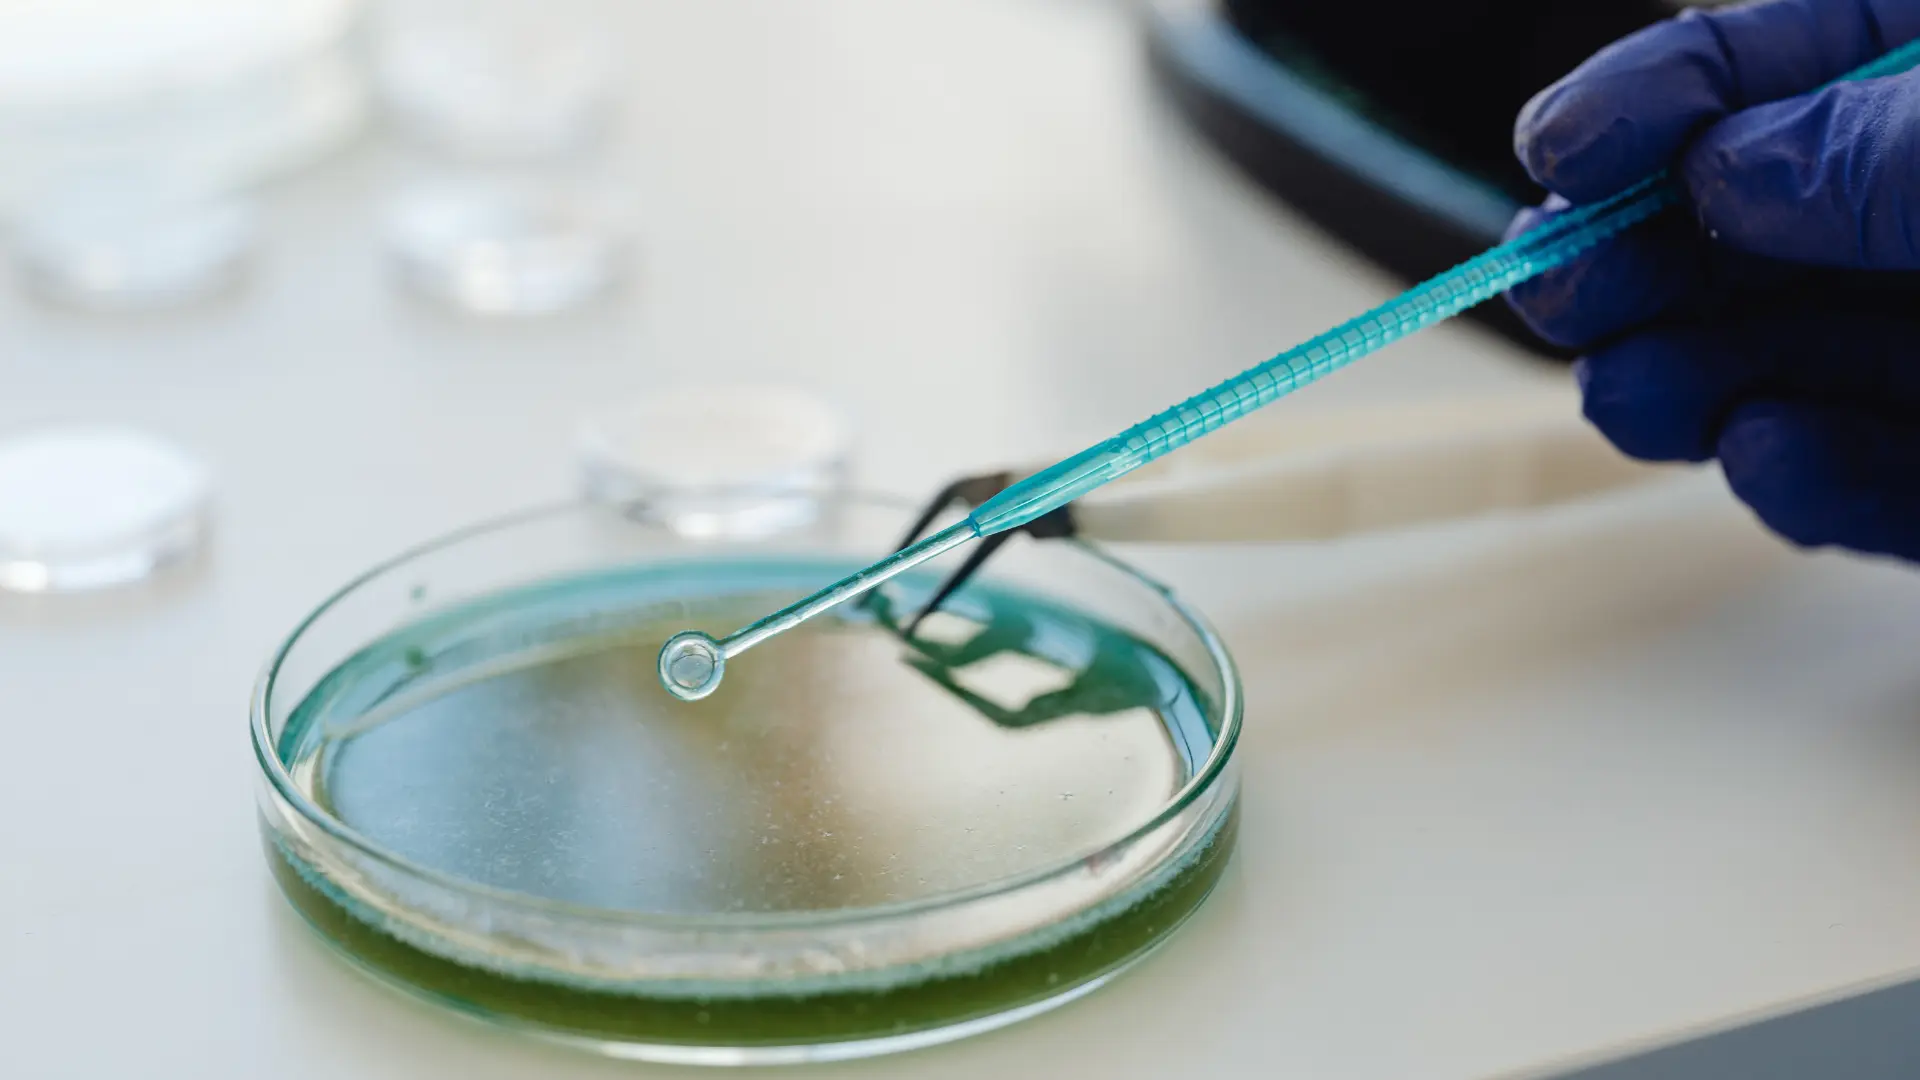
Step 4: How to Collect a Bacteria Well Water Sample (The Safe, Simple Method)
This section is your core "bacteria well water sample instructions" workflow.
Your lab may have slightly different steps. Always follow your lab first.
What You Will Need
- the lab's sterile bacteria bottle
- the lab's paperwork (chain-of-custody form if provided)
- clean hands
- a cooler with ice packs if the lab requires the sample kept cold during transport
Step-by-Step: Bacteria Sample Collection
- Pick the correct faucet - Use a faucet that is indoors, is on cold water, and can run steadily without splashing.
- Remove the aerator if the lab instructs you to - Aerators collect debris and bacteria films. Many labs prefer sampling without the aerator. If you remove it, set it aside somewhere clean.
- Clean the outside of the faucet - You don't need to overdo this. The goal is to reduce obvious grime near the outlet. If the lab tells you to disinfect the outlet, follow their exact method. Different labs use different approaches. Stick to their instruction sheet.
- Run the cold water briefly - Many labs instruct you to run water for a short time before sampling so you are sampling fresh water from the line. Do not guess a long flush time unless the lab says so.
- Open the sterile bottle correctly - This is where most mistakes happen.
- Wash your hands.
- Do not touch the inside of the cap.
- Do not touch the inside of the bottle opening.
- Do not set the cap on the counter. Hold it in your hand.
- Fill the bottle to the indicated line - Many bacteria bottles are designed for a specific volume. Don't overfill. Don't rinse. If there's powder or a tablet inside, don't remove it.
- Cap tightly and label immediately - Labeling should include date, time, and location (for example "kitchen cold tap").
- Keep it cool and deliver quickly - Follow the lab's rules. Many labs require bacteria samples to be kept cold and received promptly, often within about 24 hours.
Common Bacteria Sampling Mistakes to Avoid
- Touching the inside of the cap or bottle opening
- Letting the bottle touch the sink or faucet
- Collecting from a dirty hose bib
- Missing the delivery deadline
- Leaving the sample warm in a car
If bacteria results are high and you suspect the sample may have been contaminated during collection, ask your lab whether a confirmation retest is recommended.
Step 5: How to Collect a Chemical Well Water Sample (Nitrate, Metals, pH, etc.)
Chemical sampling is usually more forgiving than bacteria sampling, but there are still rules that matter.
1) Use the Correct Bottles for Each Test
Chemical sampling often involves different bottles for different analytes.
Some may be:
- plastic
- glass
- preserved (with acid or other preservatives)
Do not combine bottles or transfer water between containers.
2) Follow the Lab's Fill and Handling Instructions
For some bottles, the lab may specify:
- fill completely with no air space
- don't overfill
- don't rinse
- keep chilled
If the bottle has preservative, overfilling may spill preservative and change the method.
3) Decide Whether Your Chemical Sample Should Be "Flushed" or "First Draw"
For many chemical tests related to the well water itself, labs often want a "normal use" sample, which can involve running the water briefly before filling.
For lead and copper at the tap, the sampling approach is different and often involves first draw sampling after stagnation.
That brings us to the next section.
Step 6: First Draw vs Flushed Sample (and Why It Matters)
This is one of the most important concepts in home sampling.
What a "First Draw" Sample Is
A first draw sample is collected immediately after a period of no water use, often 6 to 8 hours.
It is meant to capture water that has been sitting in the plumbing.
Minnesota's health guidance for lead sampling describes a first draw sample after a 6 to 8 hour stagnation period, followed by a flushed sample collected after running water briefly.
What a "Flushed" Sample Is
A flushed sample is collected after running water for a short period, so you are sampling water that has moved through the plumbing.
Depending on the goal, the flush time varies.
For lead testing in particular, some sampling guidance uses a short flush sample to compare with the first draw.
When First Draw vs Flushed Matters Most
- Lead at the tap: first draw is often the key sample because lead usually comes from plumbing, not the aquifer.
- General well chemistry: labs often want a sample that reflects water after a short flush, so you're not only testing water that sat in indoor pipes.
The simplest rule is:
- If you are testing for plumbing-related metals (especially lead), ask the lab if first draw is required.
- If you are testing for general well water chemistry, follow the lab's standard "run water briefly then collect" instructions.
Step 7: Collecting a Lead Sample (If Your Panel Includes It)
If you're collecting lead, don't improvise.
Use the lab's instructions.
Typical Lead Sampling Goals
Lead testing at a household tap often aims to answer:
- Is lead coming from my indoor plumbing or fixtures?
- Does flushing reduce levels?
- Do I need to change behavior, replace plumbing, or consider treatment?
Sampling plans often include:
- a first draw sample after stagnation
- a flushed sample after running water briefly
Practical Tips That Reduce Confusion
- Label clearly: "first draw" vs "flush."
- Do not accidentally run water before collecting the first draw sample.
- Schedule the sample for early morning if the instructions require overnight stagnation.
- If you are doing this for real estate or legal documentation, professional sampling can be worth it.
Step 8: Packaging, Transport, and Delivery
Keep Paperwork with the Sample
Labs often require:
- submission forms
- payment details
- sample identification and collection time
Missing paperwork can delay processing.
Use a Cooler When Required
If the instructions require samples kept cold:
- use ice packs
- keep samples upright
- avoid direct sunlight
Deliver Within the Lab's Window
Many labs have specific receiving hours for bacteria samples.
Some labs explicitly require receipt within 24 hours or they reject the sample.
If you cannot meet the window, reschedule rather than sending a sample that will be rejected.
Step 9: Common Mistakes and How to Avoid Them
Mistake: Collecting on the Wrong Day
Avoid collecting bacteria samples on days when the lab is closed or shipping could stall.
Mistake: Using the Wrong Faucet
If the faucet has buildup, an aerator, or a swivel head, it increases the chance of contamination.
Choose a simple indoor faucet when possible.
Mistake: Mixing Sample Goals
A first draw sample answers a different question than a flushed sample.
Decide what you are trying to measure before you collect.
Mistake: Relying on a Generic At-Home Kit for High-Stakes Decisions
Mail-in and at-home kits can be useful, but for:
- real estate
- major treatment purchases
- concerning results
…use a certified lab and consider confirmatory testing.
When to Use Professional Sampling Instead of DIY
DIY sampling is fine for many homeowners, but there are times when professional sampling is worth the cost.
Consider professional sampling if:
- You need results for a home purchase or sale and want chain-of-custody documentation.
- You are collecting bacteria samples and you are not confident you can avoid contamination.
- You cannot meet delivery windows due to distance or schedule.
- You need multiple samples from different points (before treatment, after treatment, first draw lead).
- You are troubleshooting a recurring issue and want a consistent collection method.
Start with local options: Find well water testing near me
How Long Does Well Water Testing Take After You Collect the Sample?
This is the question people ask right after collection because they are anxious to get results.
Turnaround time depends on:
- the tests you ordered
- lab workload
- how quickly the sample arrives
- whether it is a specialty panel
For a practical walkthrough, see our guide on well water testing turnaround times.
What to Do After You Get Results
This guide is about sampling, but a few next steps help you stay organized.
1) Save the Report
Keep a simple folder by year.
2) Record the Sampling Details
Write down:
- date and time
- where you sampled (kitchen cold, before treatment, etc.)
- whether it was first draw or flushed
- any recent events (flooding, repairs)
3) If Something Is High, Confirm and Act Calmly
A reasonable process is:
- confirm with a repeat test if the lab recommends it
- reduce exposure when appropriate
- fix the cause (well cap, drainage, plumbing)
- retest to confirm
If you want contaminant-specific next steps, use: Well water contaminants guide hub
Frequently Asked Questions
How to collect a well water sample without contaminating it?
To collect a well water sample without contaminating it, use the lab's sterile bottle, do not touch the inside of the cap or bottle opening, avoid letting the bottle touch the sink or faucet, and deliver the sample within the lab's required timeframe. Many labs require bacteria samples to be kept cold and received quickly, often within about 24 hours.
How to take a well water sample for a routine annual test?
To take a well water sample for routine annual testing, request the correct bottles from a certified lab, sample from an indoor cold-water tap (often the kitchen), follow the lab's instructions for flushing or not flushing, and deliver the sample promptly. CDC and EPA recommend using state-certified laboratories for private well testing. (CDC)
What are the most important bacteria well water sample instructions?
The most important bacteria well water sample instructions are to use the sterile bottle provided, avoid touching the inside of the cap, collect from a clean indoor tap, keep the sample cool if instructed, and deliver it quickly. Many labs treat samples older than about 24 hours as unacceptable.
What is first draw vs flushed sample for well water testing?
First draw vs flushed sample refers to when you collect the water. A first draw sample is collected immediately after several hours of no water use, and it captures water that sat in the plumbing. A flushed sample is collected after running water briefly. Some lead sampling guidance uses both to compare conditions.
When should I use a professional instead of DIY to collect a well water sample?
You should consider professional help to collect a well water sample if you need chain-of-custody documentation for real estate, you are not confident collecting sterile bacteria samples, you cannot meet delivery timelines, or you need multiple samples (first draw vs flushed, before and after treatment).
Can I do mail-in testing if I need bacteria results?
You can use mail-in testing for bacteria only if the kit's lab instructions and shipping method can meet holding times. Because many labs require quick delivery and cooling for bacteria samples, local drop-off or professional sampling is often easier to do correctly.
Where can I find someone who will collect the sample for me?
To find a provider who will collect the sample for you, look for local sampling services or providers that partner with certified labs: Find well water testing near me
How long does well water testing take after I drop off my sample?
How long well water testing takes depends on the panel. Bacteria results may take a few days, while broader chemistry or specialty panels can take longer. For a full breakdown, see our guide on well water testing turnaround times.